OSINT Pt.3: Geolocation OSINT
Landmarks, Shadows & Weather
Geolocation is one of the crown jewels of OSINT. By analyzing photos and videos—landmarks, skylines, sun shadows, and even weather—you can pinpoint where and when something happened. In this post, we’ll explore step-by-step how geolocation works and why it’s such a powerful tool for investigators, journalists, and everyday users.

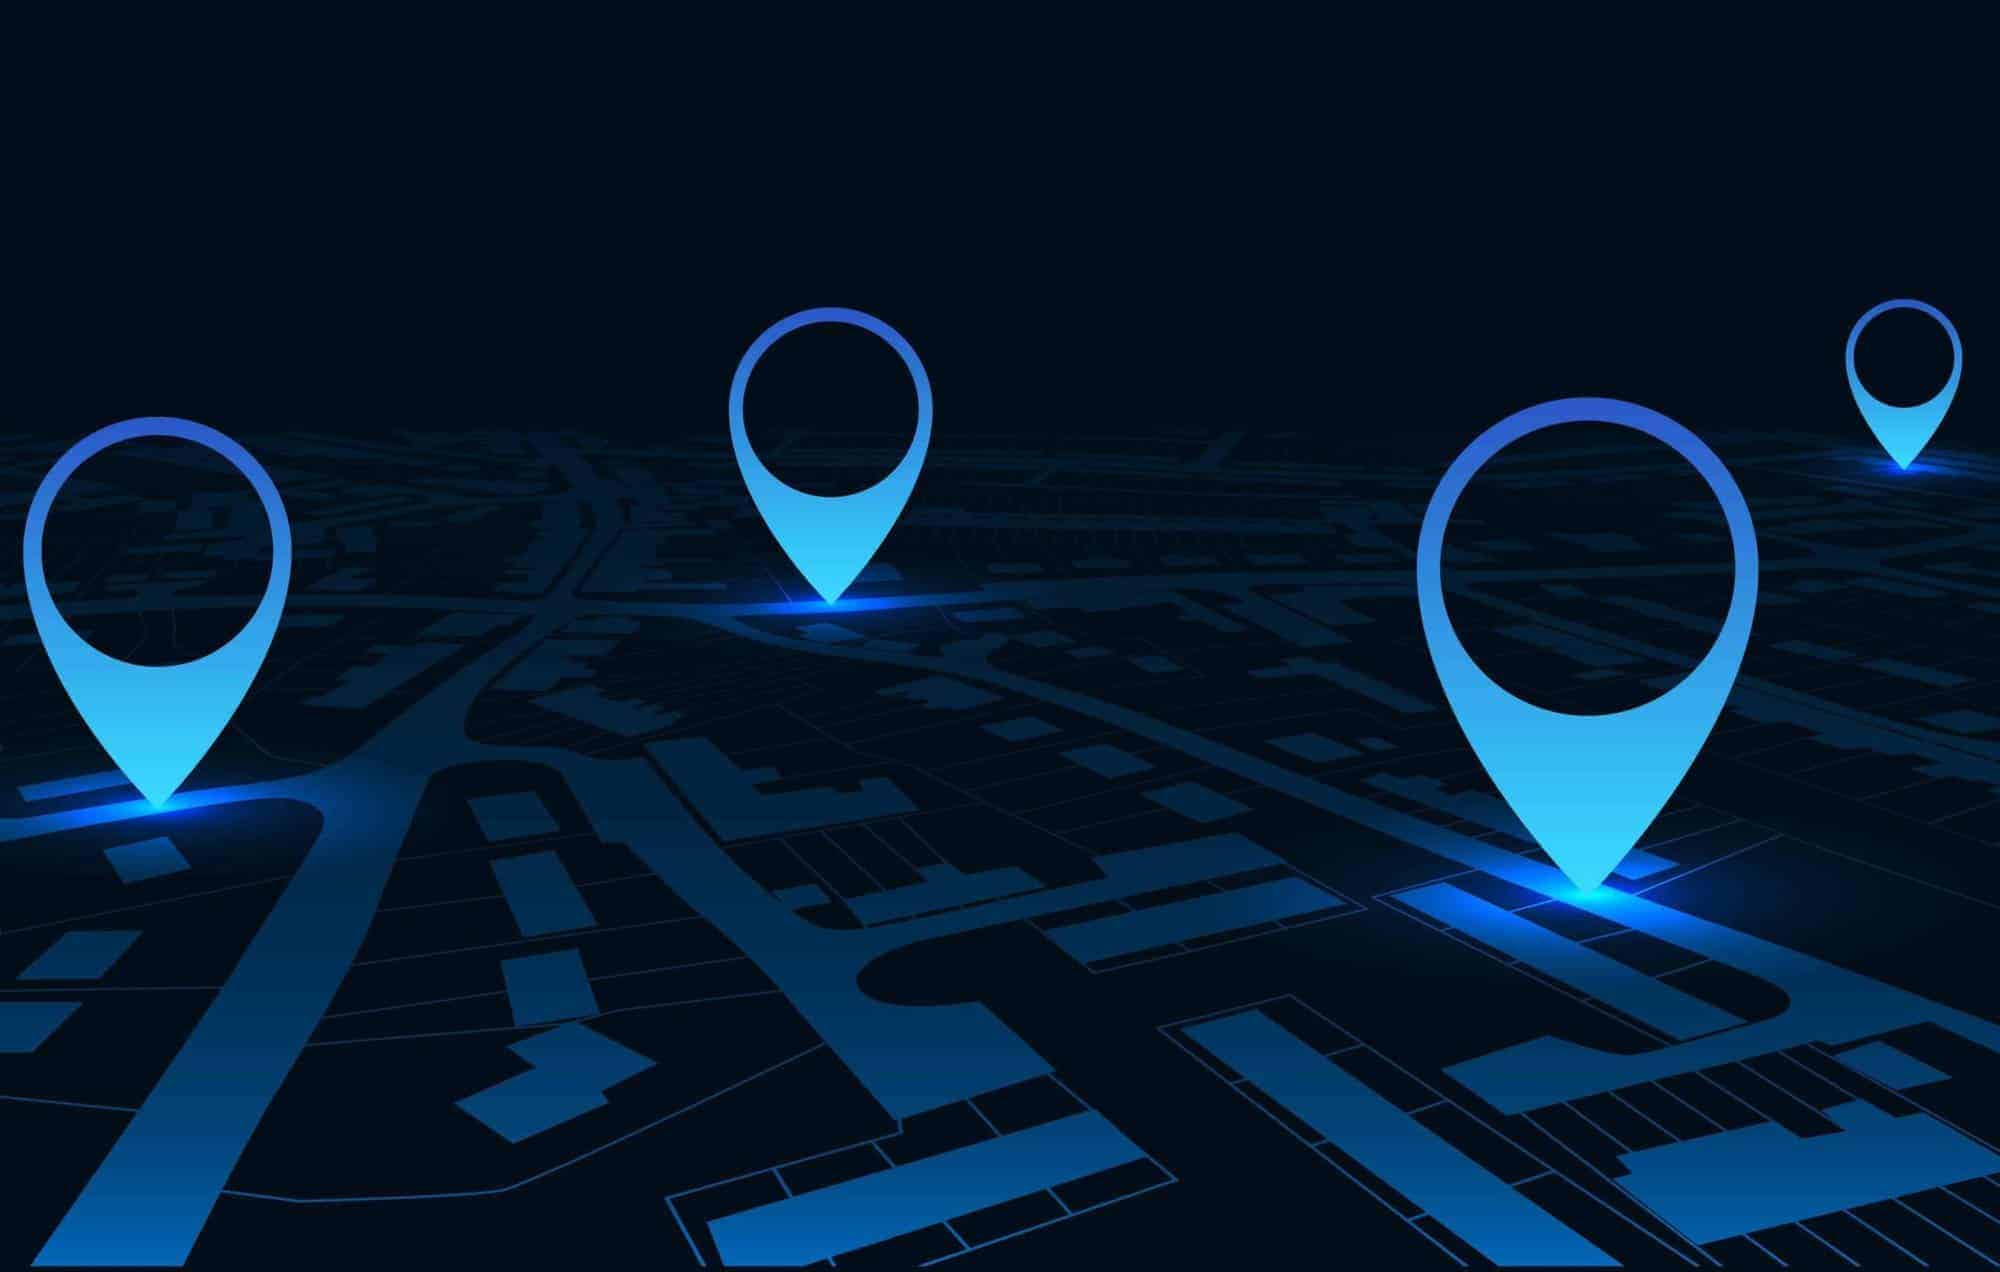
Every image has a story beyond the subject. Landmarks, skylines, shadows, and weather patterns can transform a random picture into a precise pin on the map.
Why Geolocation is So Powerful
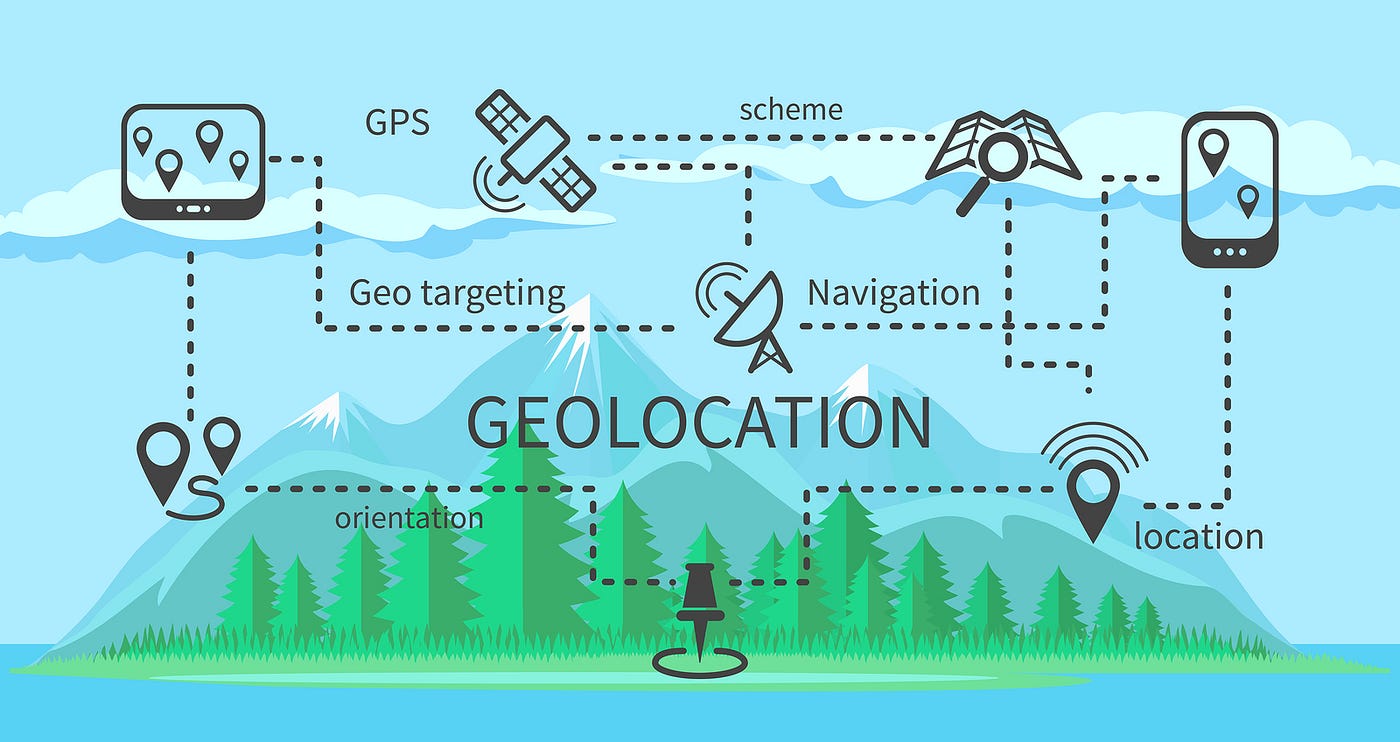
Geolocation OSINT is the art of extracting where (and sometimes when) an image or video was captured by analyzing what’s visible (and sometimes hidden).
Why it matters:
- Investigators – confirm or debunk reports from conflict zones, protests, disasters.
- Journalists – verify user-submitted media before publishing.
- Attackers – track targets’ homes, workplaces, or routines from casual posts.
- Everyday users – understand what their own photos might unintentionally reveal.
Step 1: Landmarks & Visible Features
- Look for unique skylines: towers, domes, mountains, bridges.
- Identify storefronts, signs, or advertisements – languages, phone codes, brand presence.
- Use Google Street View, Mapillary, or satellite imagery to match features.
Case Study: Investigators geolocated a viral video from a Middle East conflict by matching a single minaret silhouette against Street View images.
Public Tip: Even a street sign in the background of your selfie can pinpoint your exact location.
Step 2: Shadows & Sun Position
Shadows reveal both time of day and sometimes hemisphere.
- Tools like SunCalc.org show the sun’s angle at a given date/time.
- Comparing shadow length with building height gives a time estimate.
- Shadow direction confirms orientation (north/south/east/west).
Case Study: Journalists debunked a propaganda image by showing the shadows didn’t match the claimed time of day in that city.
Analyst Tip: Combine shadow analysis with weather (cloud cover) for higher confidence.
Step 3: Weather & Environment
Weather is often the overlooked clue.
- Check historical weather data (Weather Underground, Meteostat).
- Look at clothing, vegetation, snow, or seasonal decorations.
- Cloud types or rainfall can be matched to recorded weather events.
Case Study: Fraudsters claimed to be in New York during a blizzard, but their “live” video showed clear skies. Weather records disproved the claim.
Step 4: Terrain & Natural Features
- Rivers, coastlines, mountain ranges, deserts – all unique.
- Forest types and agricultural patterns reveal region.
- Satellite imagery (Google Earth, Sentinel Hub) allows zoomed-out comparison.
Case Study: Analysts confirmed illegal logging by matching tree lines in drone footage with satellite data.
Step 5: Metadata (if available)
Even when EXIF metadata is stripped, sometimes fragments remain.
- GPS coordinates (if intact) can immediately give location.
- Camera model and timestamp help triangulate authenticity.
- File hash comparison can reveal identical uploads elsewhere.
Analyst Tip: Always combine metadata with visual analysis for reliability.
Tools for Geolocation OSINT
- Google Earth / Street View – landmark and terrain matching.
- OpenStreetMap – detailed, editable mapping data.
- Mapillary – crowdsourced street-level imagery.
- SunCalc.org – shadow and sun position.
- Sentinel Hub / NASA Worldview – satellite imagery.
- EXIF.tools – metadata extraction.
- Weather services – historical verification.
Real-World Applications
- Journalism: Confirming if a video truly comes from a war zone.
- Law enforcement: Tracking fugitives who post selfies online.
- Humanitarian aid: Verifying natural disaster locations for response.
- Scam busting: Identifying fraudsters lying about their location.
- Everyday users: Recognizing how easy it is for strangers to geolocate them.
Protecting Yourself
- Blur or crop landmarks in personal photos.
- Share travel photos only after returning home.
- Remove EXIF tags with a metadata scrubber.
- Be mindful of seasonal or cultural markers in posts.
Key Takeaway
Geolocation is one of OSINT’s most powerful tools. A single photo can expose exact coordinates, time, and conditions.
For the public: be mindful of what your backgrounds reveal.
For analysts: combine multiple techniques—landmarks, shadows, weather, terrain—to build reliable conclusions.
Up Next:
OSINT Pt.4: Following a Scam Trail – From Email Headers to Domain Ties